Gimbal available here
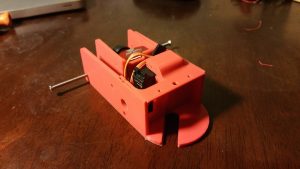
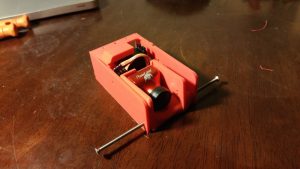
Motor mounts
Servo mount control horn kits
Servo mount control horn kit download
Simple airframe build – Part I
Simple air frame
The flying rectangle.
A video to show that even the simplest of air frames will carry the Temarai gimbal.
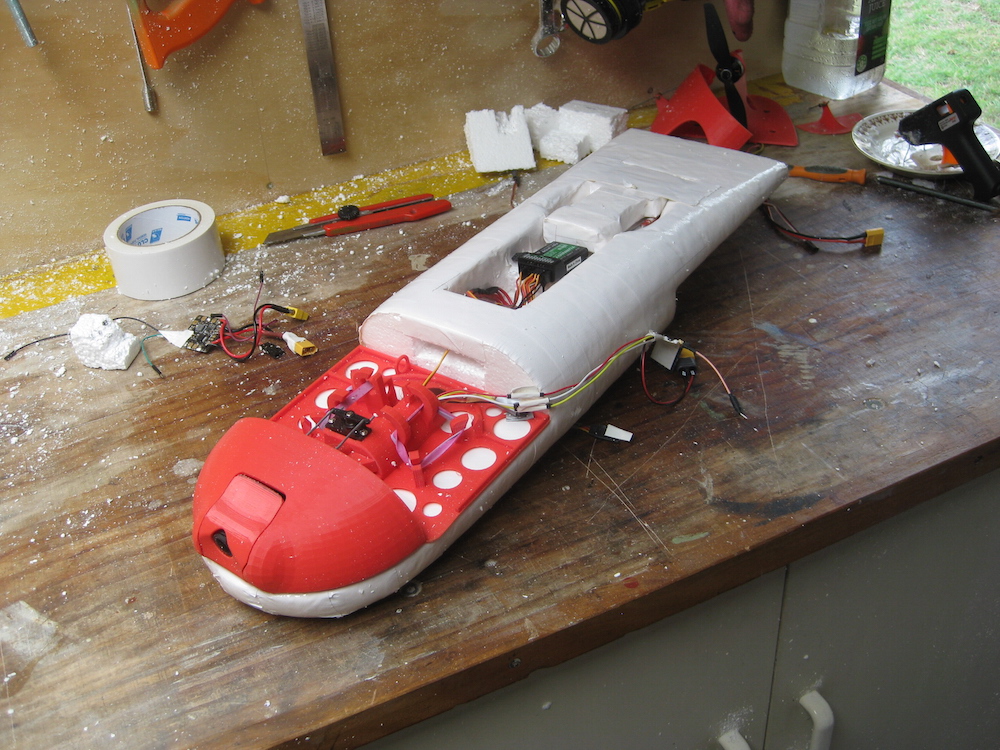
This wing is made from 50mm thick EPS foam rectangles stuck together with duct tape (cloth tape) and hot melt glue. Only the leading edges have been rounded using sandpaper.
The 2 things you need for a balanced flight are:
- Adding or removing nose ballast to approximately fly flat and
- Setting the AOA (Angle of Attack) using the control surfaces (usually 6-7 degrees).
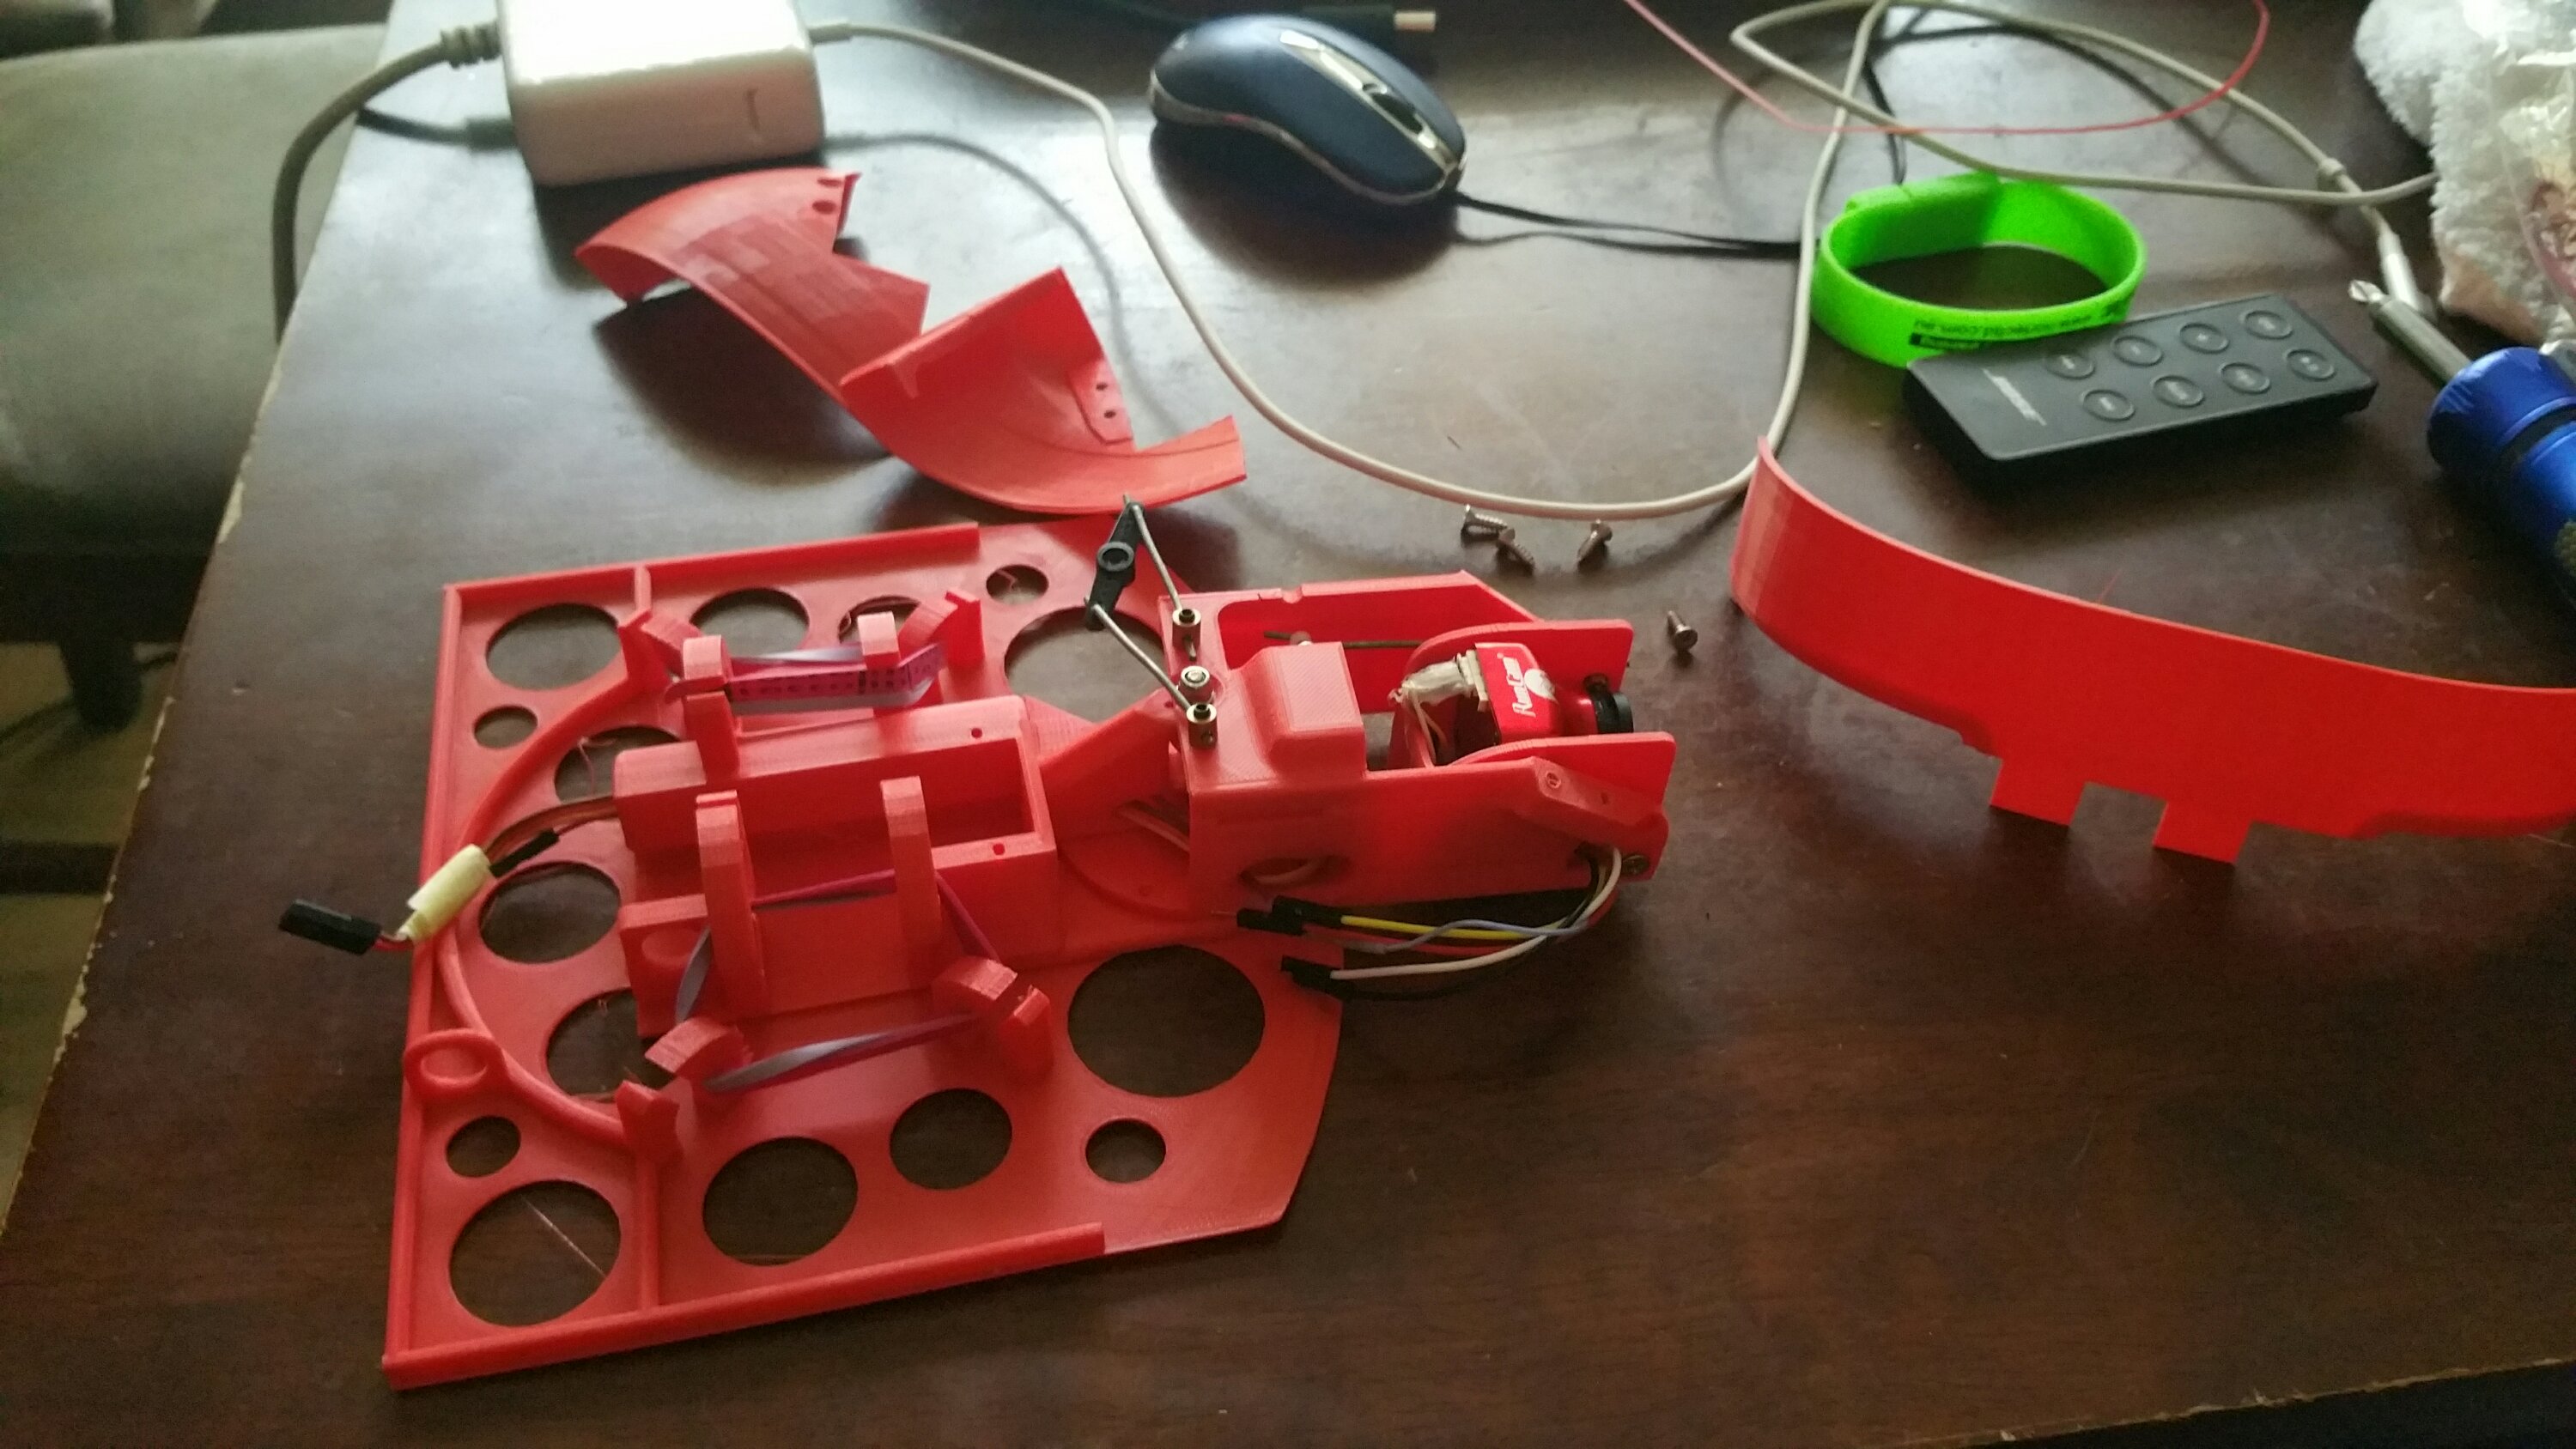
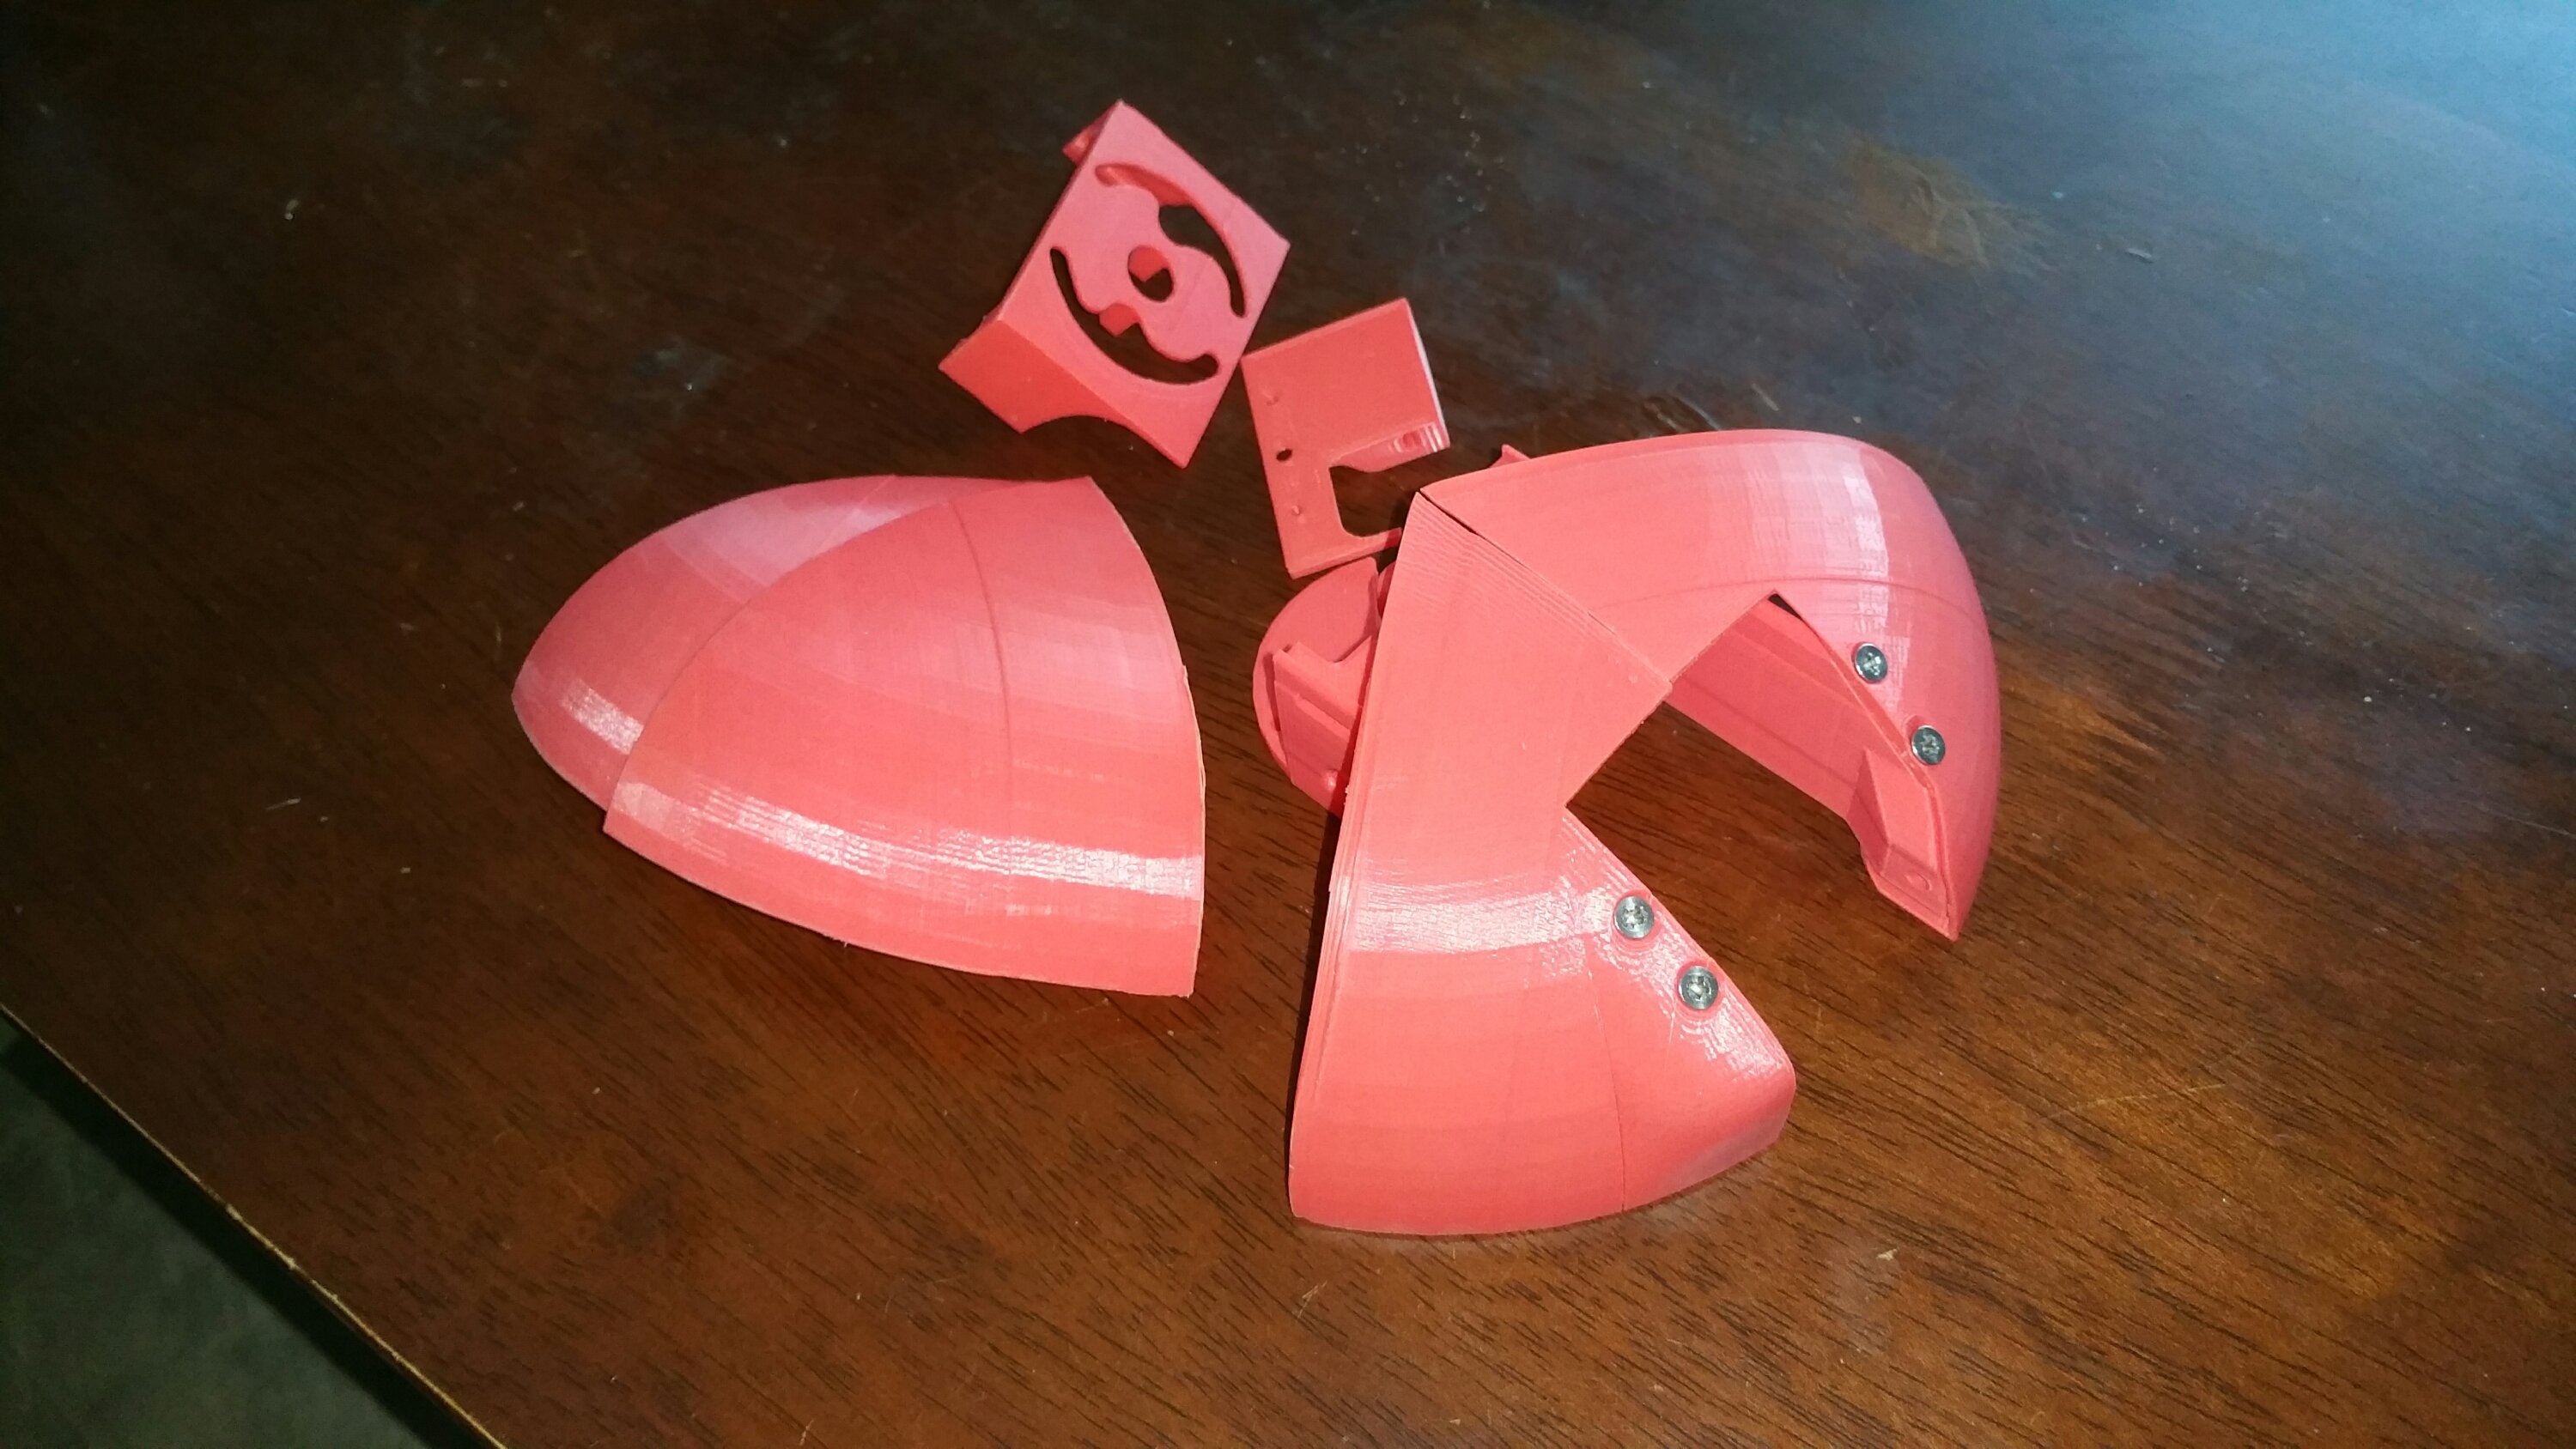
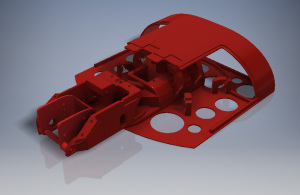
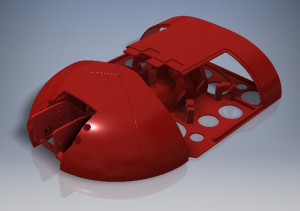
All the red plastic parts you see on this plane are available on this site. The motor mounts aren’t up yet, but will be soon.
The control surfaces are 5mm foam board available from sign writing supply shops.
Simple build for the Temarai gimbal.
A quick 1.5 hour build on this air frame (not including the electronics) . No foil shapes, just a few pieces of 50mm foam strapped together with duct tape and hot melt glue. More just to prove that I could get an unfoiled rectangle to fly with Temarai mounted on it. The point has been proven. I’ll go back to a foiled shape on the next build as the drag and performance loss is noticeable less than a dream to fly.
In this test sequence it is obvious that more ballast could be added to the nose to stop the extreme pitching. This was done and it worked, however the extra airspeed needed to carry the extra mass was not wanted at this point in time. Thus it was removed and the pitching persisted with.
Temarai Behm – Test Flights
Proto build
